> ## Documentation Index
> Fetch the complete documentation index at: https://statsig-4b2ff144-mintlify-add-local-eval-country-note-96362.mintlify.site/llms.txt
> Use this file to discover all available pages before exploring further.
# Okta SCIM Team Management
## Import Existing Statsig Teams
Teams are specific Statsig groups that exist within projects. They are not shared across projects. They also have two possible roles: `Admin` and `Member`.
## Setup
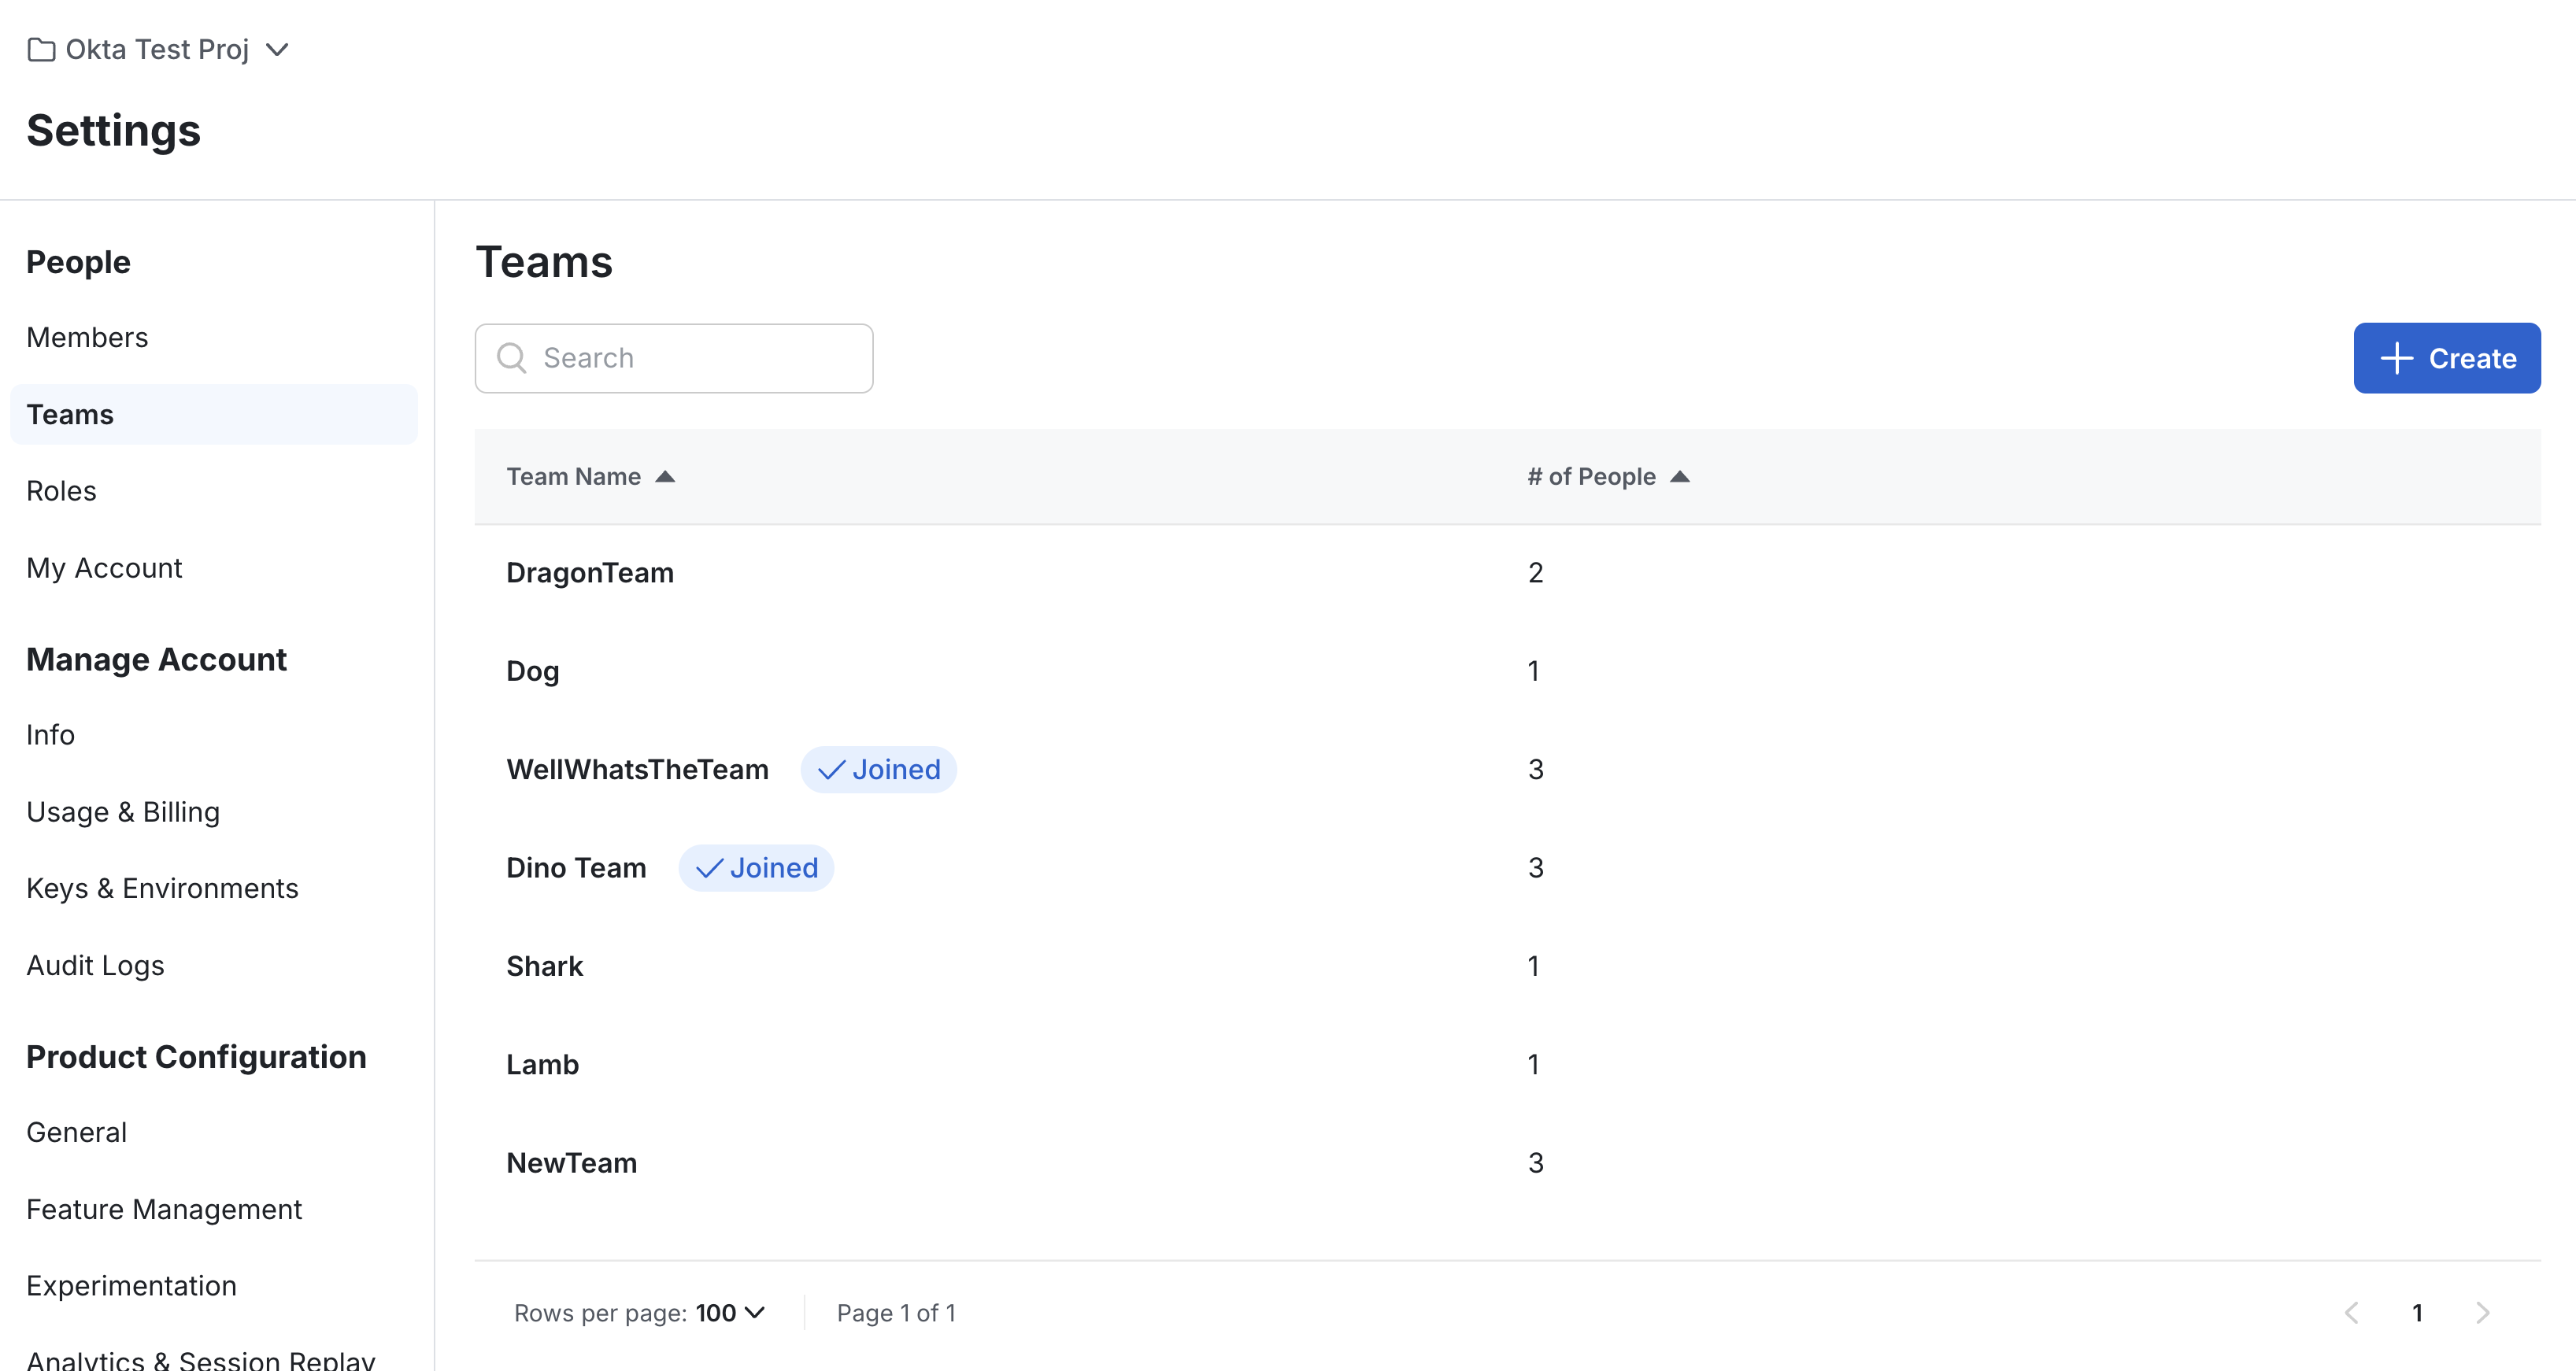
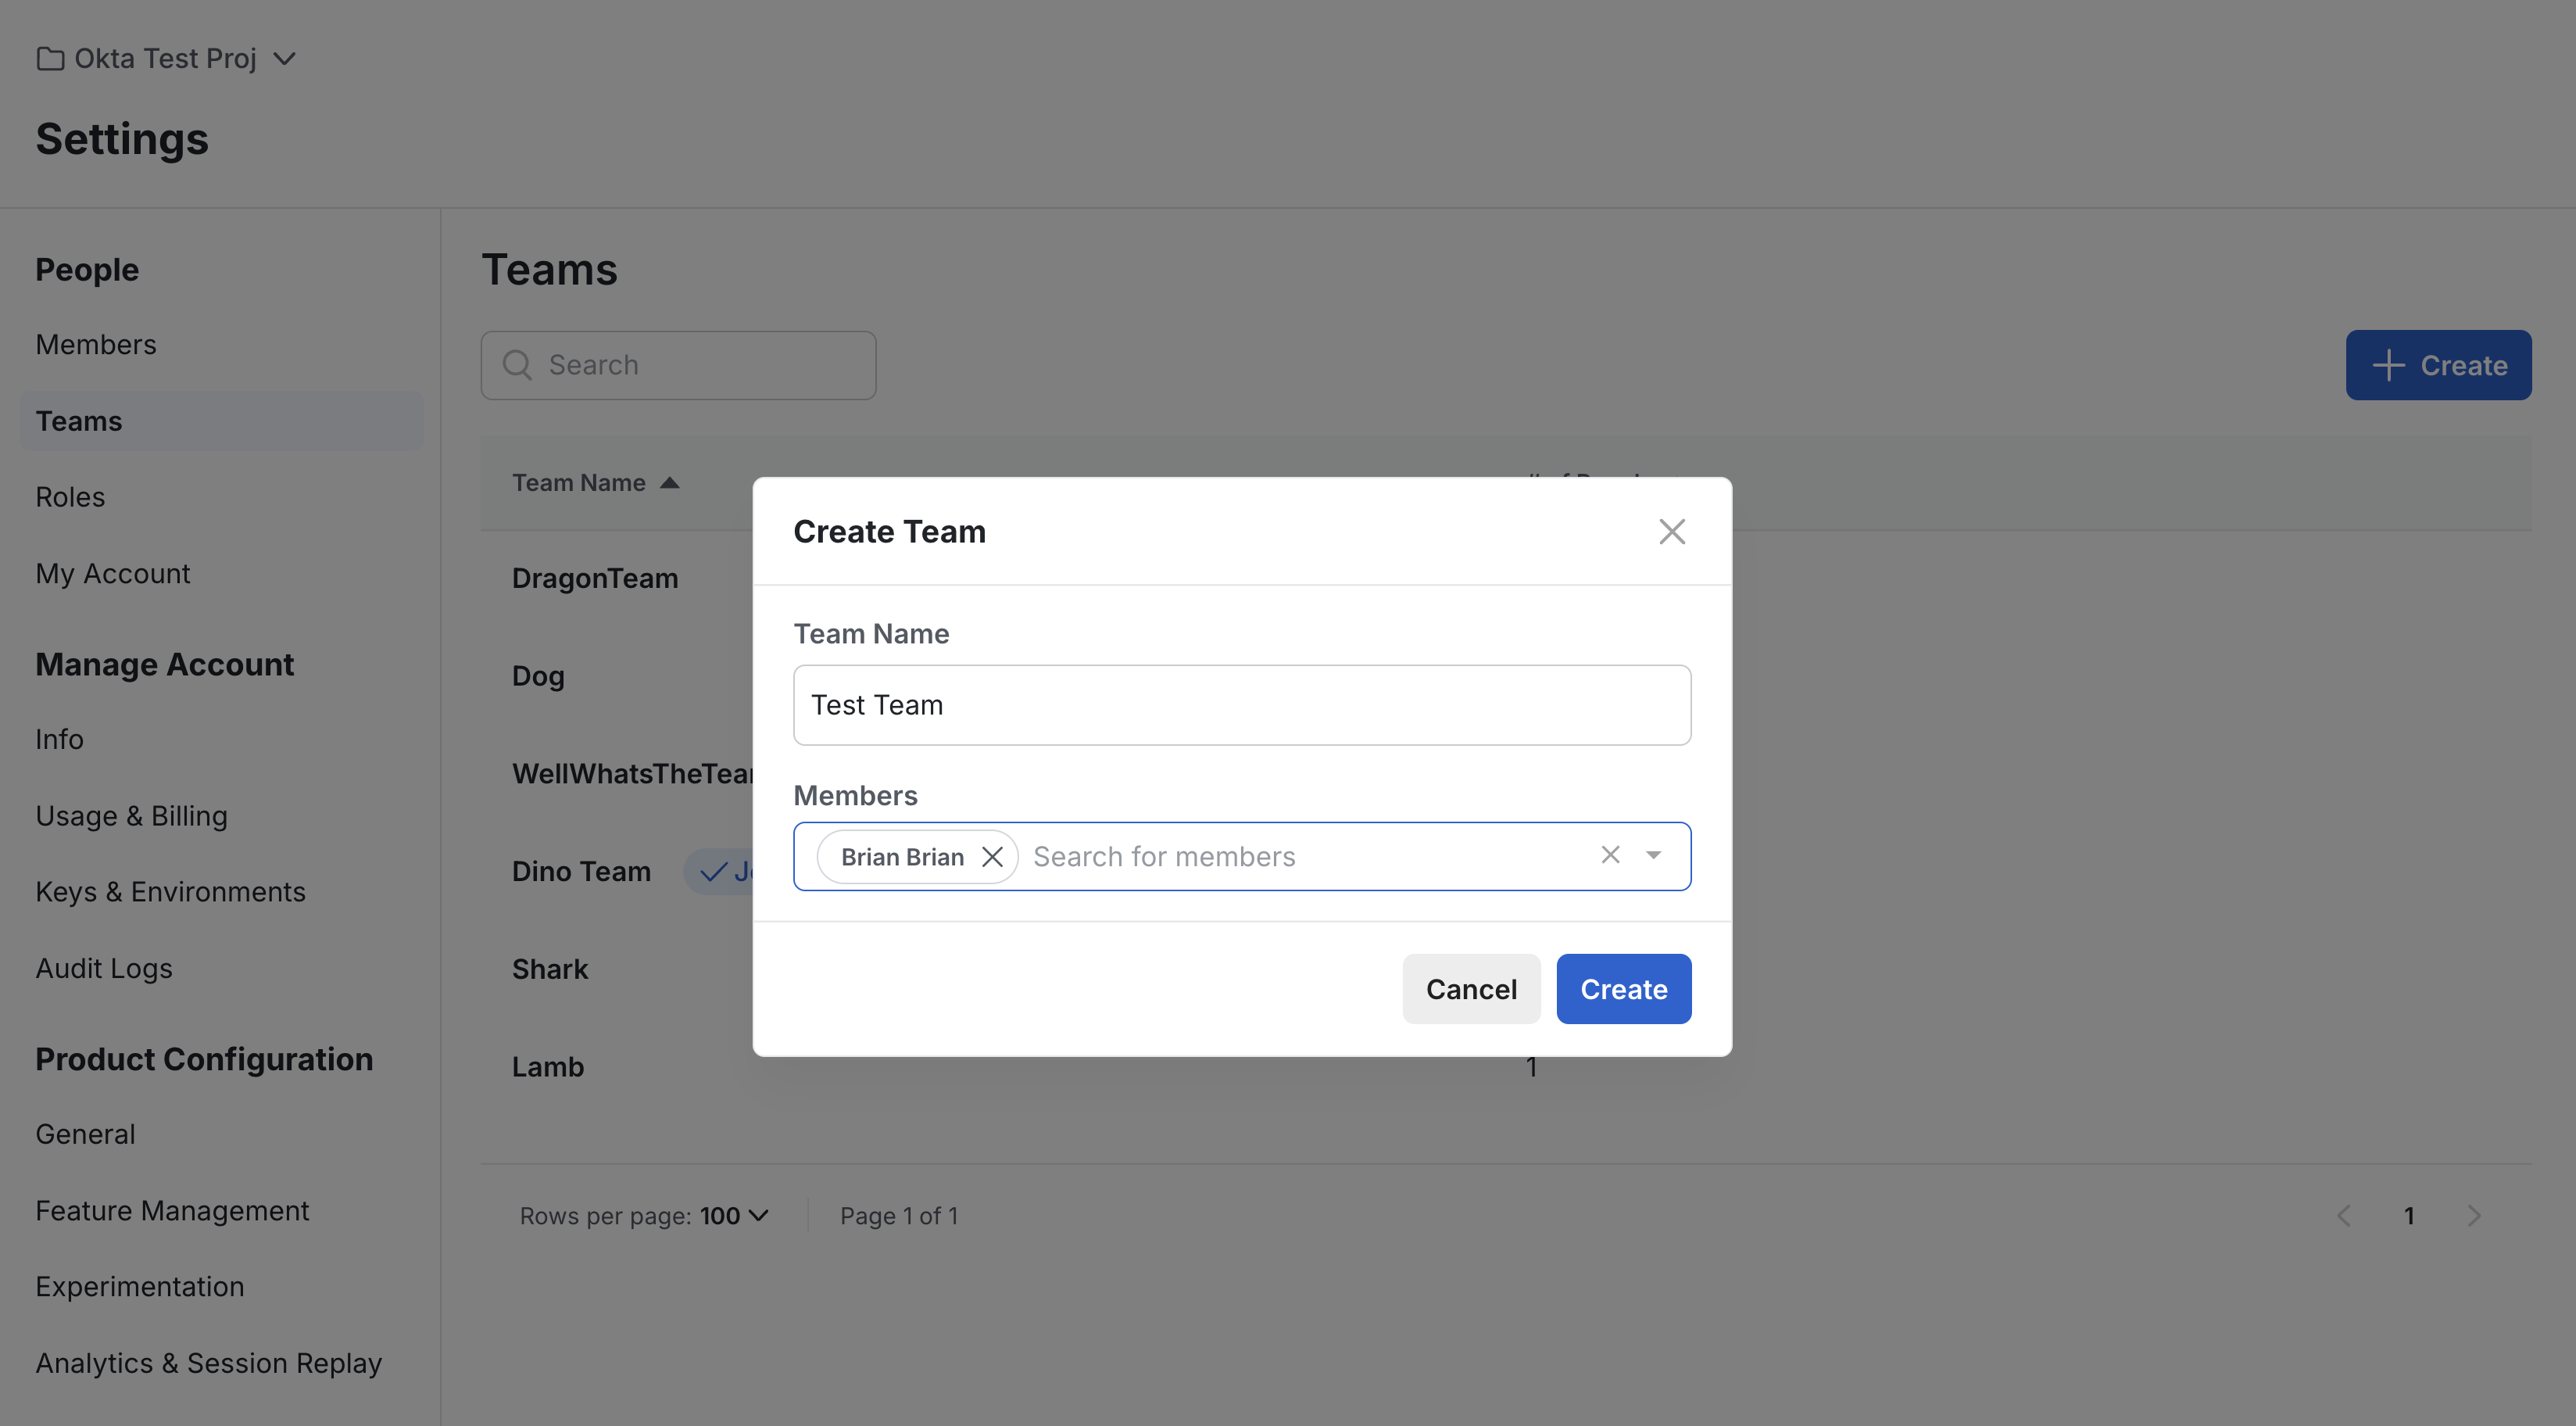
* Ensure you have some teams created in Statsig.
* Navigate to the Statsig Project and create a team if you have none.
 ## Import Existing Groups
* In Okta, go to the Statsig app's "Import" tab
* Click "Import Now" to fetch existing Statsig users, groups, and teams
* After importing, you should see the group in your Okta groups following the format `Statsig-ProjectName-TeamName-RoleName`.
## Import Existing Groups
* In Okta, go to the Statsig app's "Import" tab
* Click "Import Now" to fetch existing Statsig users, groups, and teams
* After importing, you should see the group in your Okta groups following the format `Statsig-ProjectName-TeamName-RoleName`.
 ## Create a Mapping Group
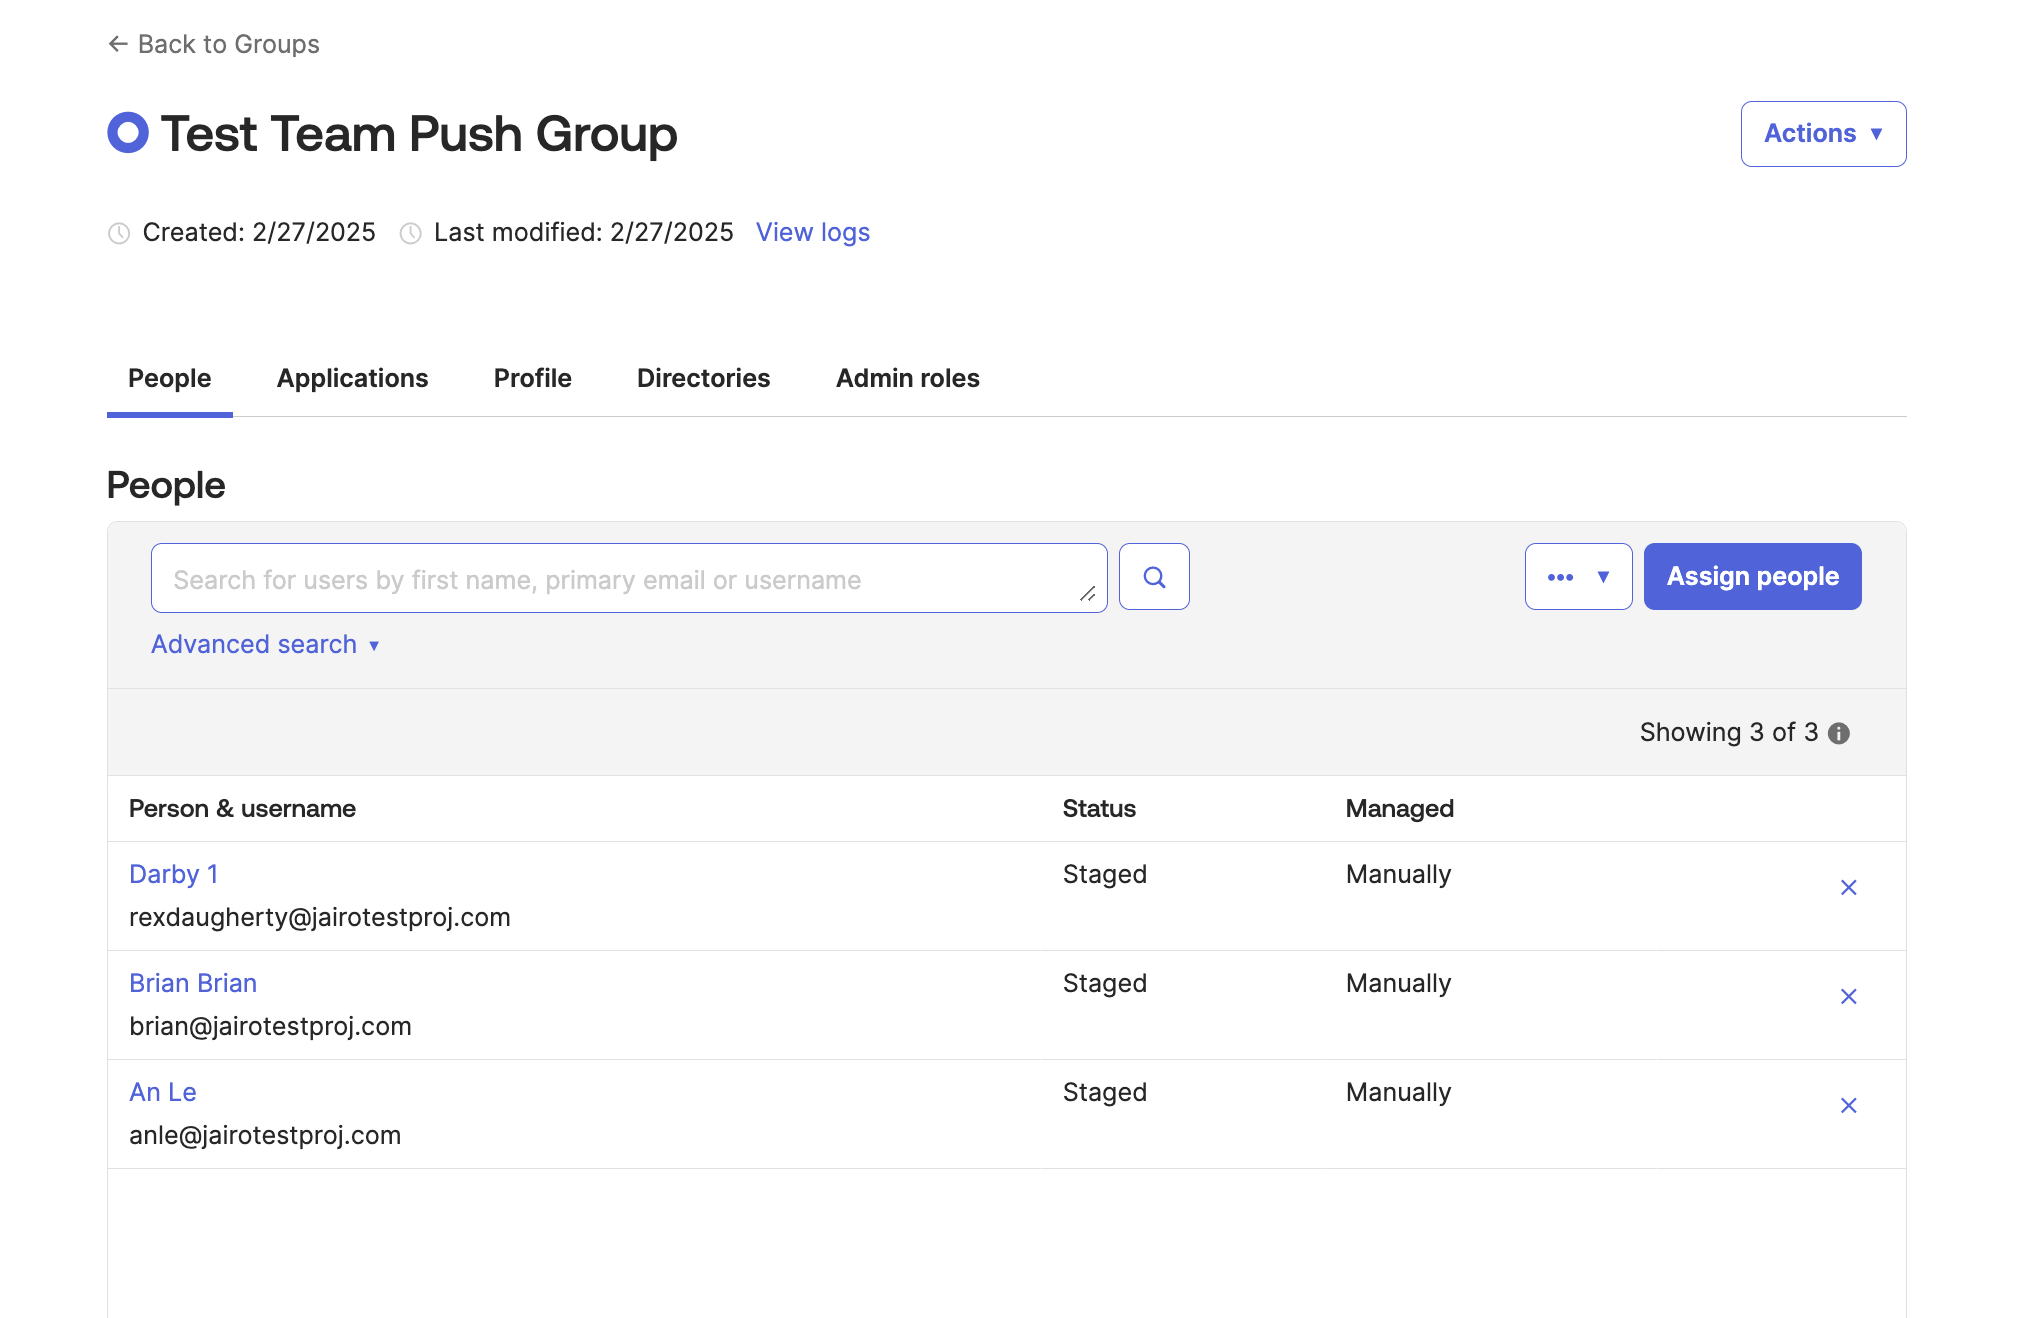
* To push a group of Okta users to a Statsig team, you must first create a mapping group.
* This group will contain the Okta members which will be part of the Team x Role Group.
## Create a Mapping Group
* To push a group of Okta users to a Statsig team, you must first create a mapping group.
* This group will contain the Okta members which will be part of the Team x Role Group.
 ## Push Teams to Statsig
1. In Okta, go to the Statsig Integration's "Push Teams" tab and select "Push Groups". Then pick the mapping group created in the previous step.
## Push Teams to Statsig
1. In Okta, go to the Statsig Integration's "Push Teams" tab and select "Push Groups". Then pick the mapping group created in the previous step.
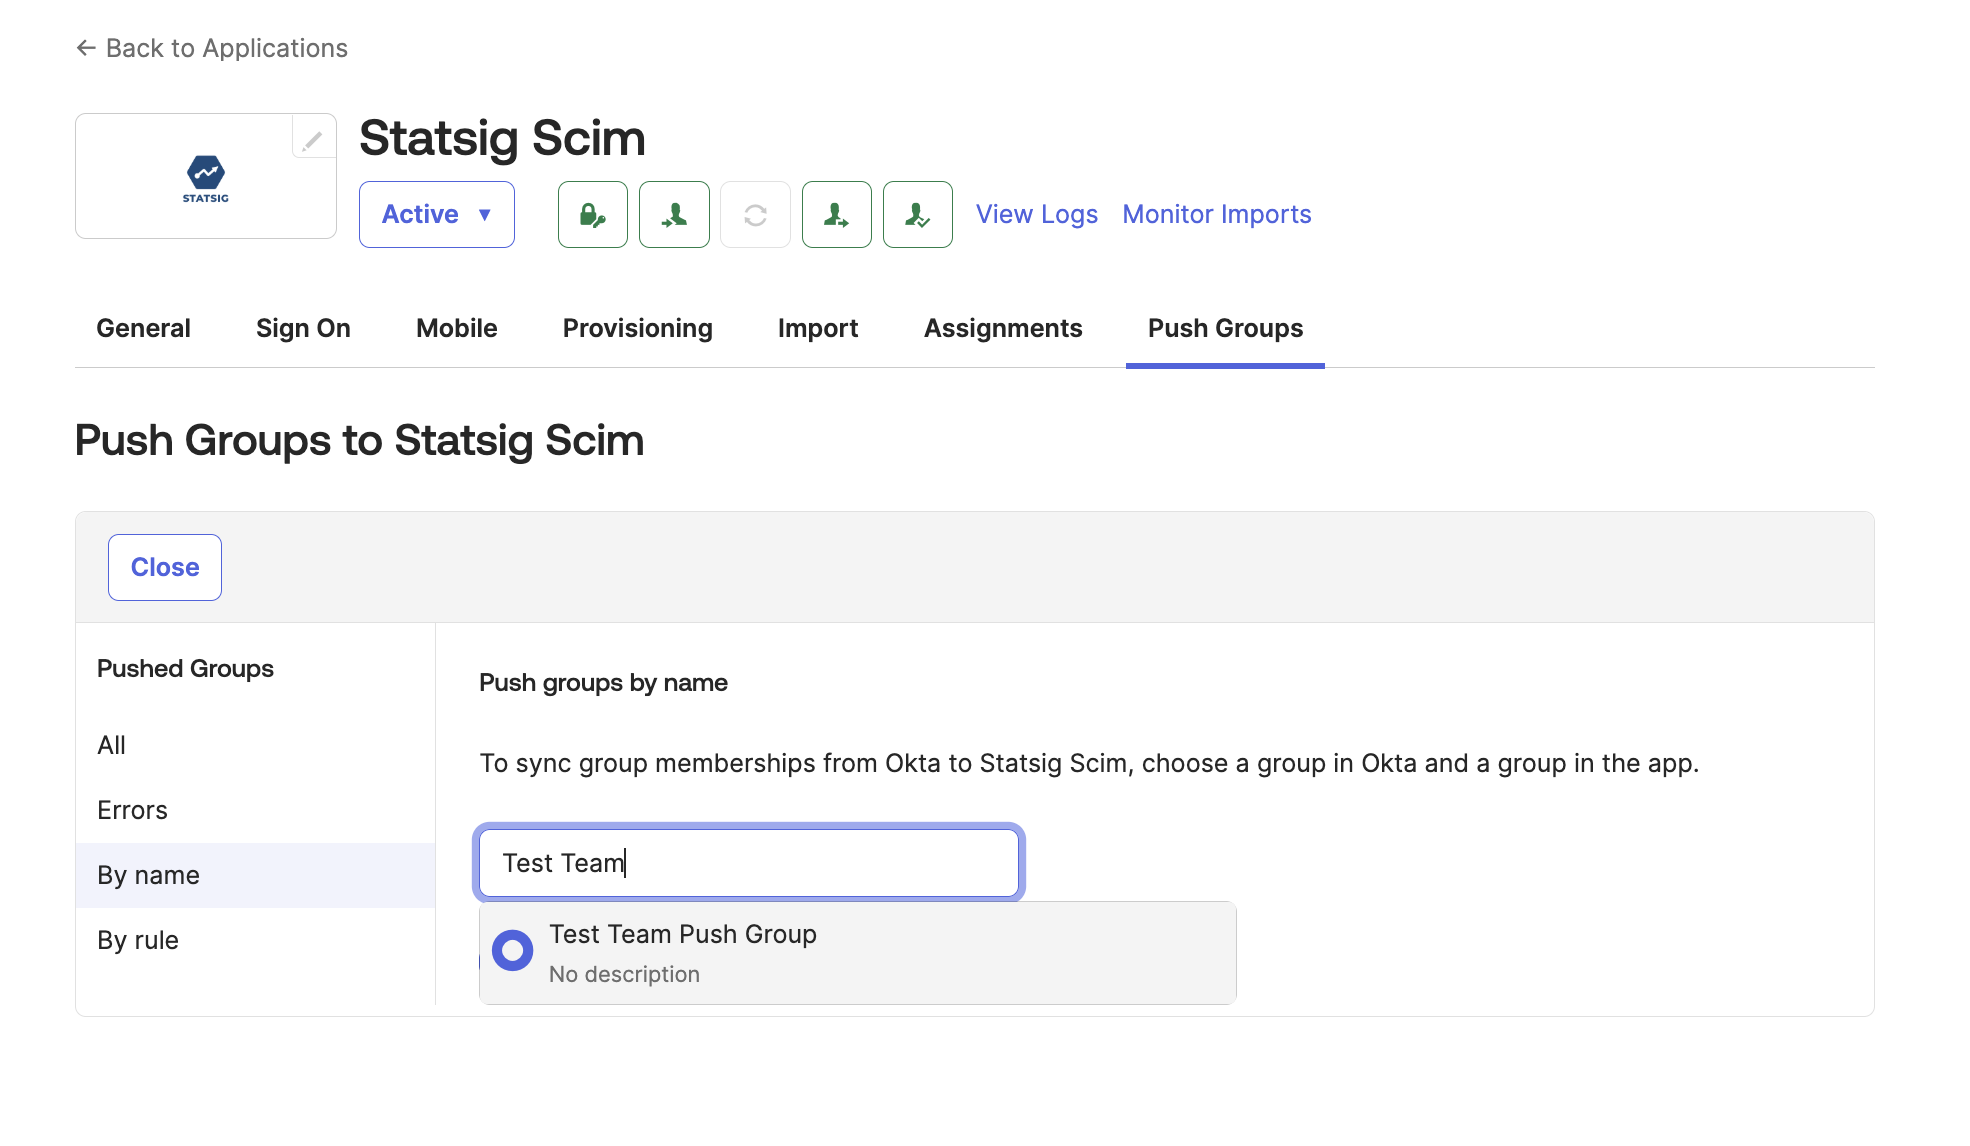 2. Change the Match result & push action to Link group. Then select the Statsig team you want to push to. It should follow the format `Statsig-ProjectName-TeamName-RoleName`.
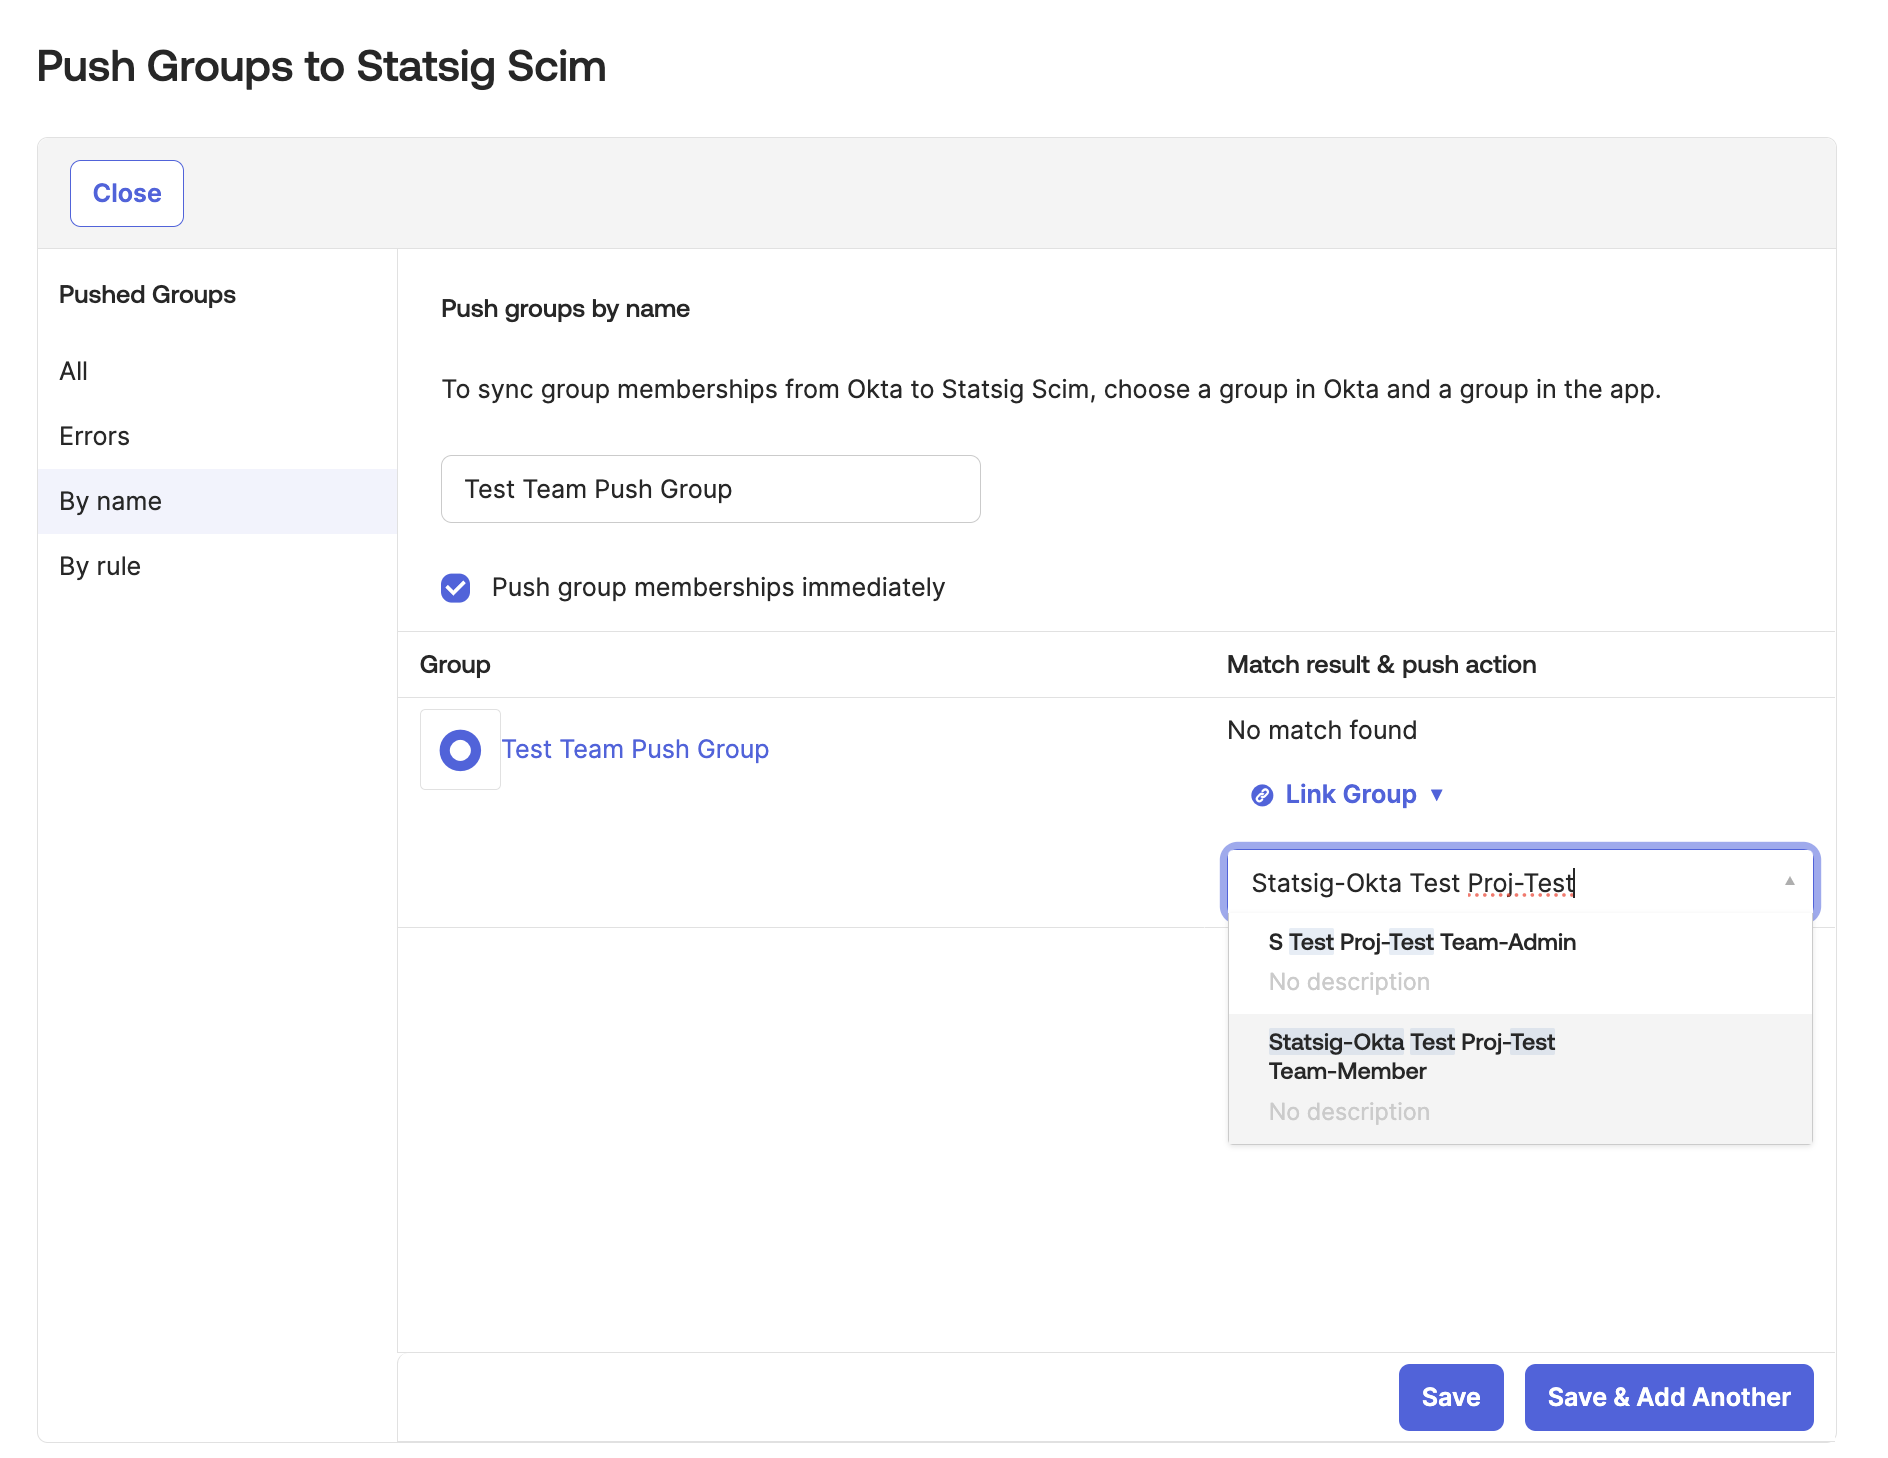 3. When you are finished setting up the push, click "Save".
## Verify the Push
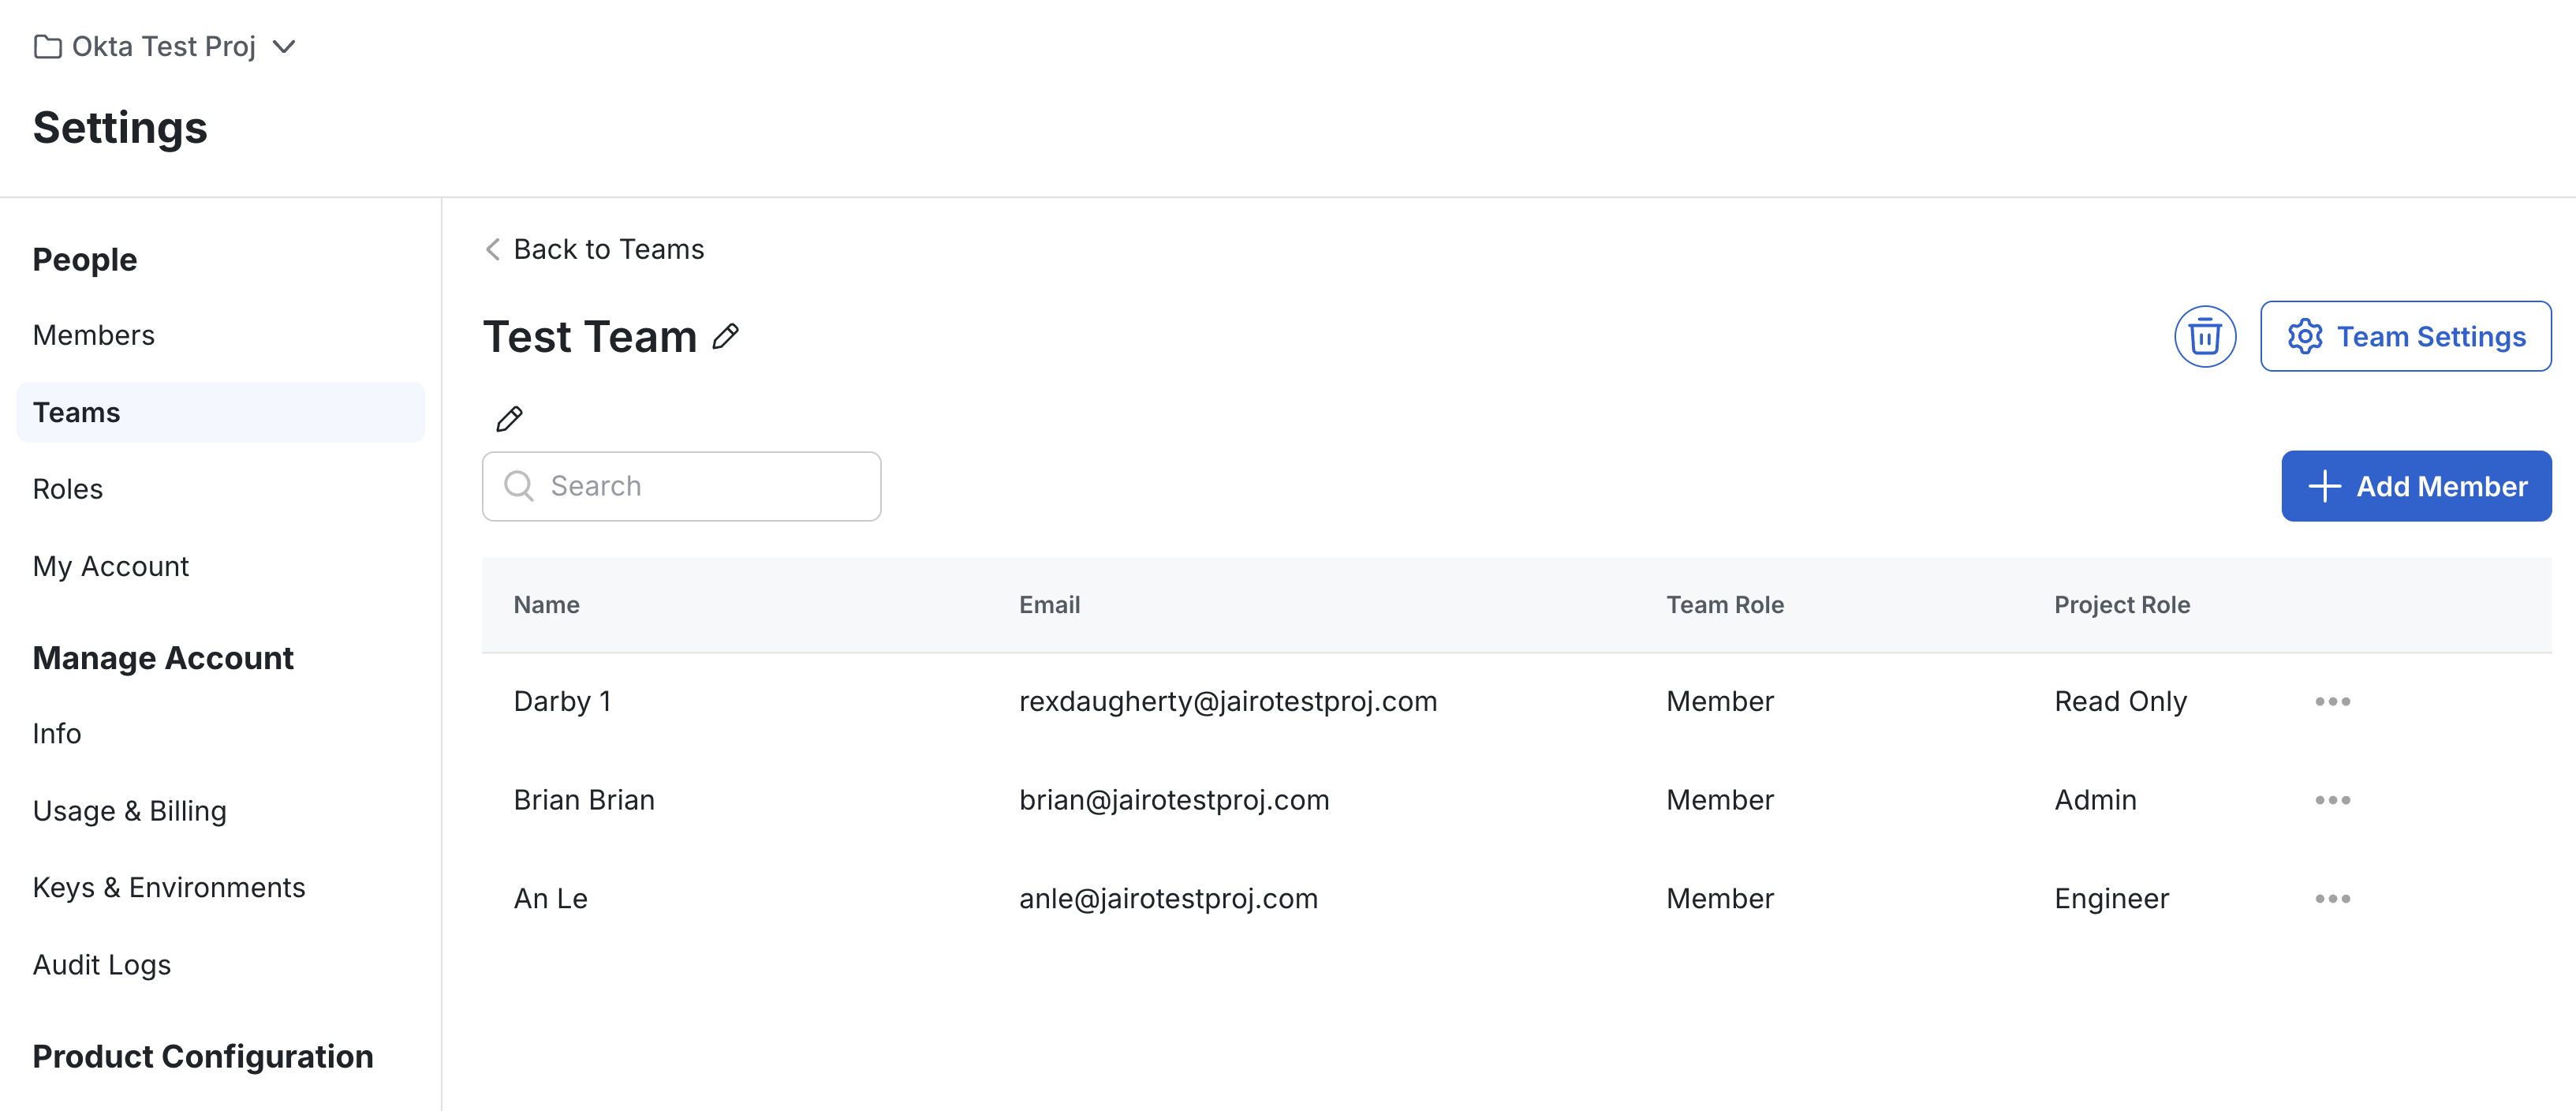
* Navigate to the Statsig Project and verify that the team has the new members.
* This could take some time for Okta to push the members to the team.
3. When you are finished setting up the push, click "Save".
## Verify the Push
* Navigate to the Statsig Project and verify that the team has the new members.
* This could take some time for Okta to push the members to the team.
 ## Delete the Team
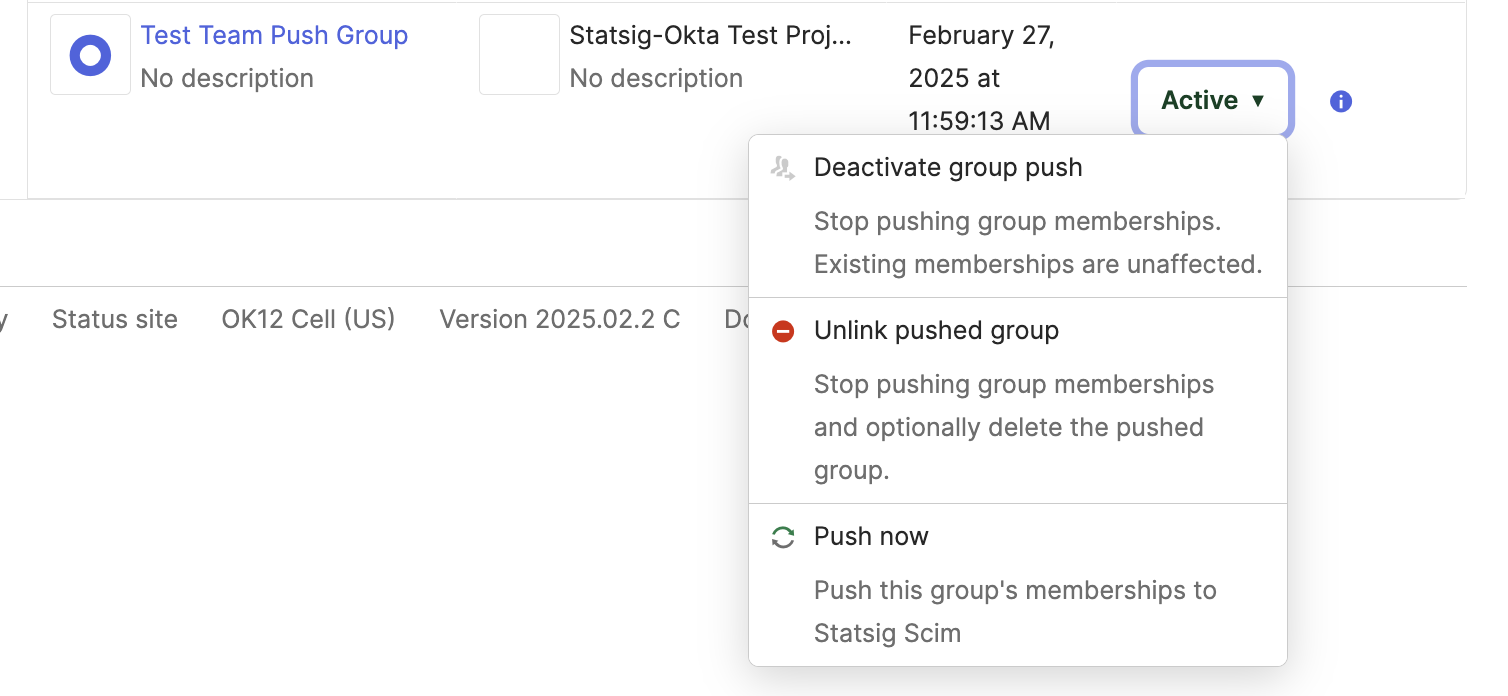
* On Okta, navigate to push groups and find the pushed group that maps to the Statsig team.
* Click the push status section and select "Unlink Group".
## Delete the Team
* On Okta, navigate to push groups and find the pushed group that maps to the Statsig team.
* Click the push status section and select "Unlink Group".
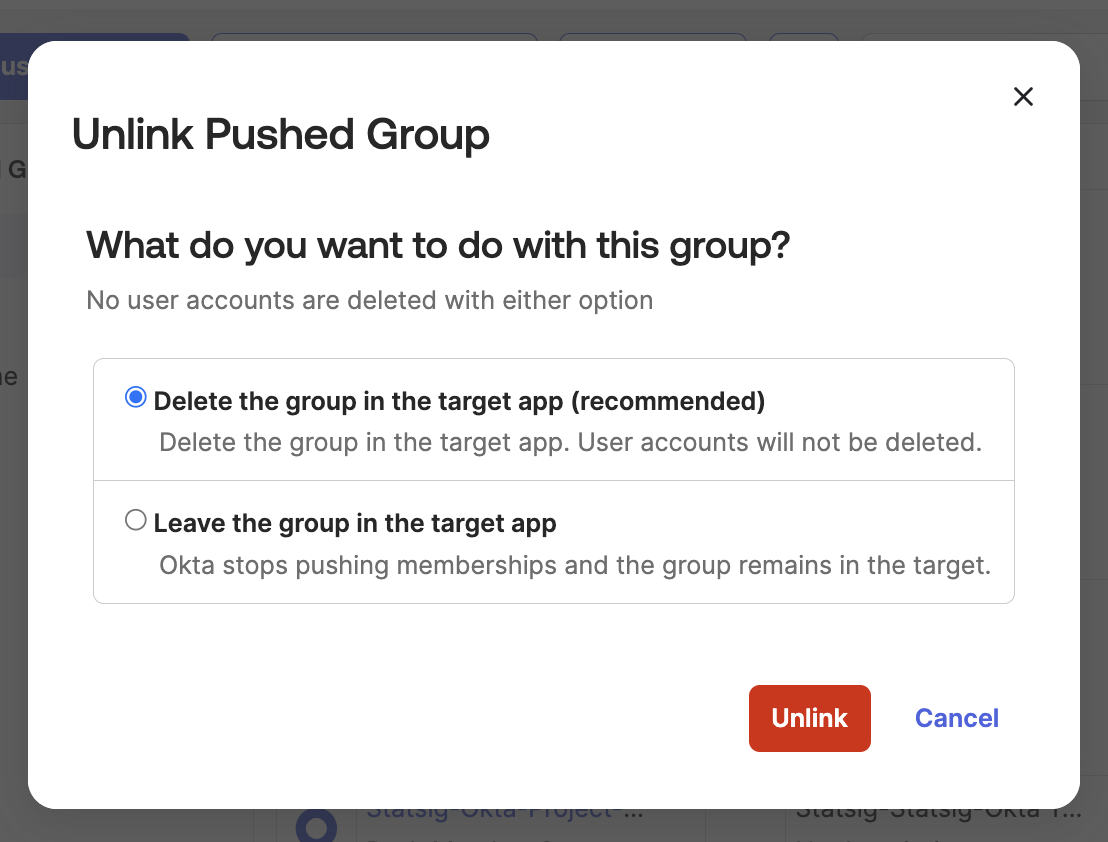
 * When prompted to delete the group or leave it in the app, select "Delete".
* After Okta pushes the deletion, the team should be deleted from Statsig. This may take a few minutes to complete.
* When prompted to delete the group or leave it in the app, select "Delete".
* After Okta pushes the deletion, the team should be deleted from Statsig. This may take a few minutes to complete.
 ## Optional: Create a Team Via SCIM
* Find an existing Okta group with the members for a new Statsig Team.
* Navigate to Push Groups and Select "Push Groups".
* Select the group you want to push to Statsig.
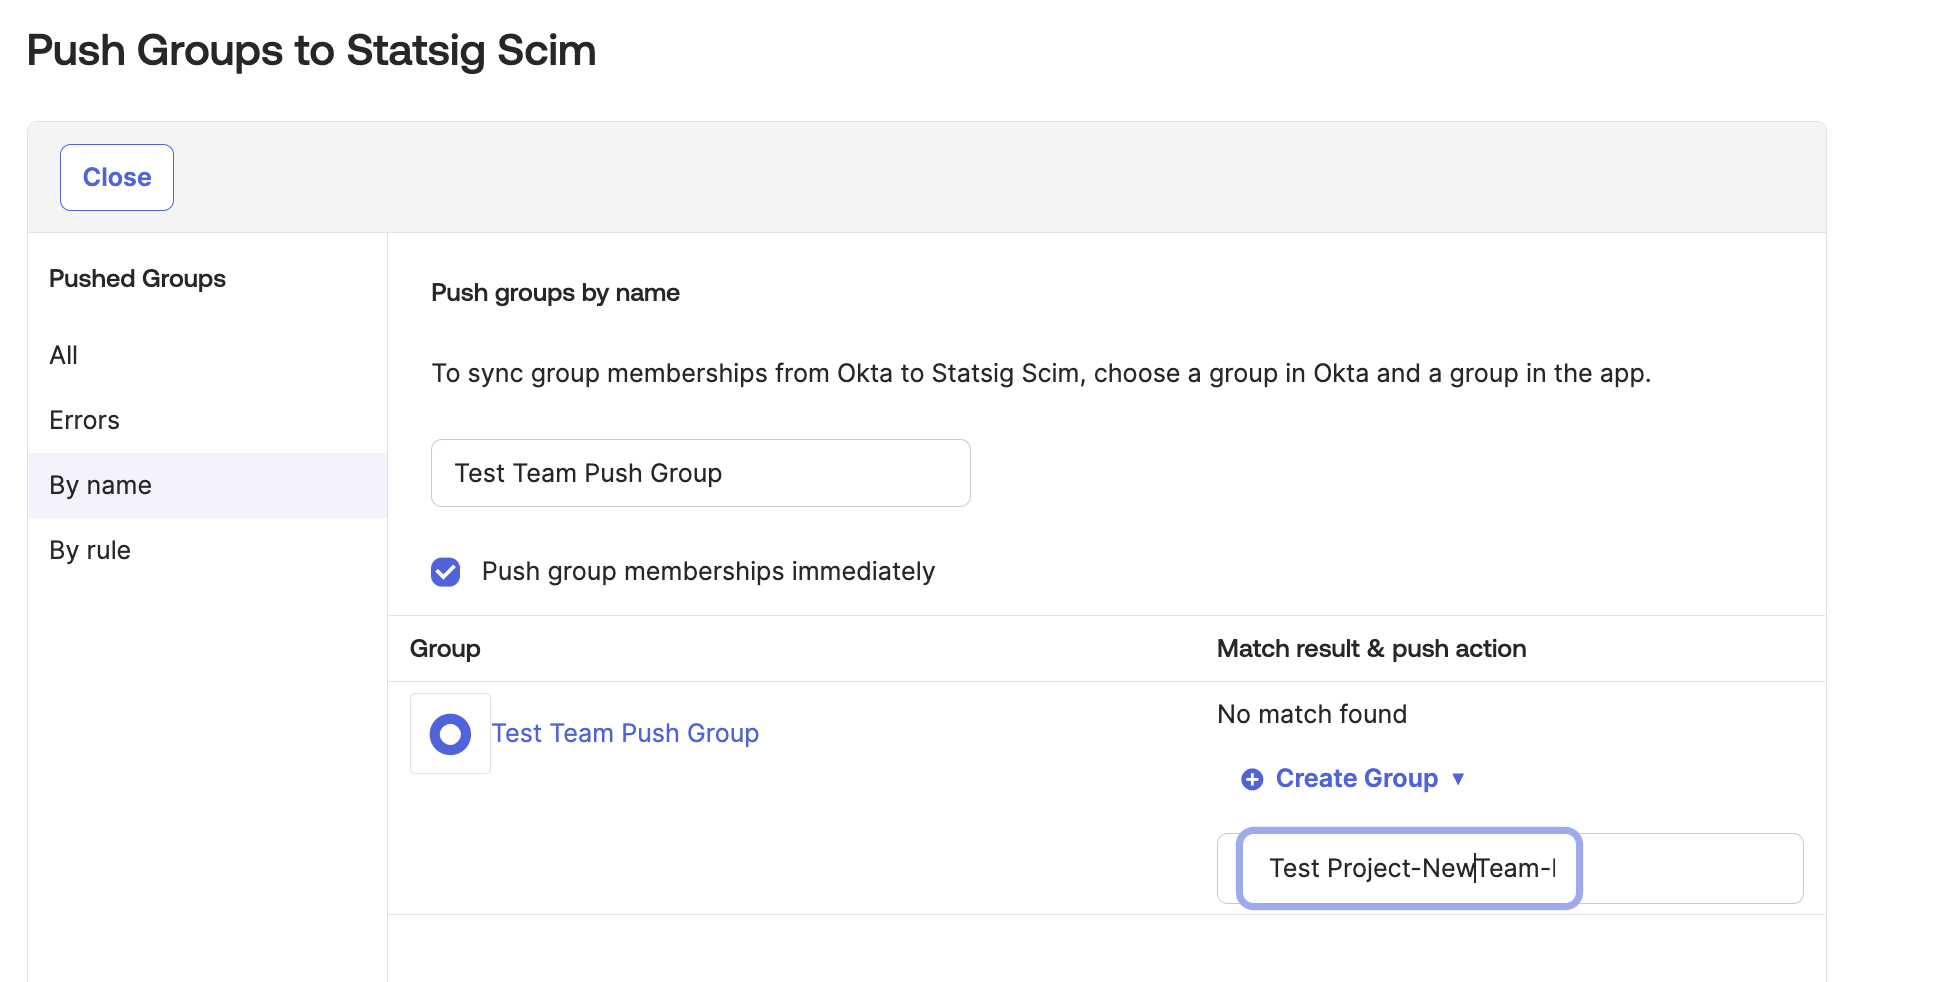
* Change the Match result & push action to Create Group.
* The naming for this group must match the format `Statsig-ProjectName-TeamName-Member`.
## Optional: Create a Team Via SCIM
* Find an existing Okta group with the members for a new Statsig Team.
* Navigate to Push Groups and Select "Push Groups".
* Select the group you want to push to Statsig.
* Change the Match result & push action to Create Group.
* The naming for this group must match the format `Statsig-ProjectName-TeamName-Member`.
 * When you are finished setting up the push, click "Save".
* Afterwards, you should see the new team in the Statsig Project you specified.
* When you are finished setting up the push, click "Save".
* Afterwards, you should see the new team in the Statsig Project you specified.